A new kitchen can have beautiful stone counters and custom cabinets and still be frustrating to cook in every day. As a family-run contractor with more than 10 years of remodeling homes across Los Angeles and the San Fernando Valley, we can tell you the kitchen layout mistakes we get called to fix are rarely about finishes. They are about inches, sequence, and decisions made too late.
This guide covers the five errors we see most often, why each one happens, and what to check on your plans before cabinets are ordered. Fixing a layout on paper costs an afternoon. Fixing it after install can mean new cabinets, new counters, and reopened walls.
Why Kitchen Layout Mistakes Cost So Much to Undo
Cabinets, counters, plumbing, and electrical are all locked together. Move a sink 18 inches and you are re-cutting stone, rerouting a drain, and often reopening drywall that already passed inspection.
Most layout problems trace back to one of three causes: the plan was drawn to fit a wishlist instead of the room, the trades were designed separately, or the drawings were approved without walking through how the household actually cooks. We see all three on Valley homes built in the 1950s and 60s, where kitchens are smaller and walls carry more structure than people expect.
Mistake 1: An Island Too Big for the Room
The island is usually the first thing homeowners ask for and the first thing that gets oversized. A 9-foot island looks great in a rendering, but if it leaves 32 inches to the range, two people cannot pass and the open oven door blocks the aisle.
Good kitchen island sizing starts with clearances, not the island itself. Common design guidelines call for:
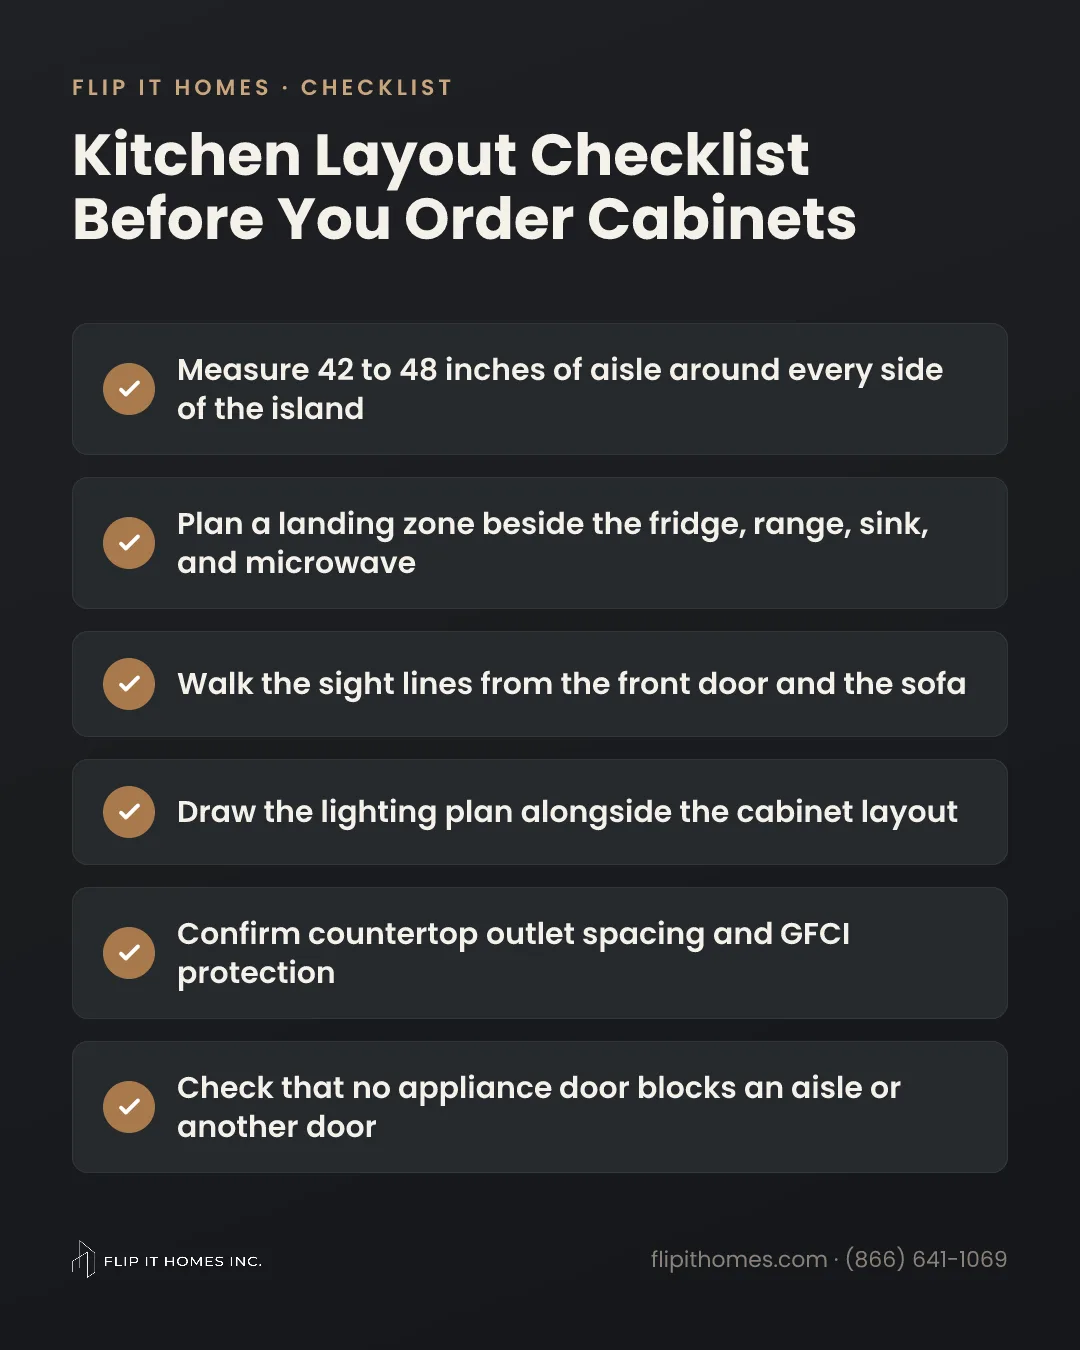
- About 42 inches of work aisle in a one-cook kitchen
- About 48 inches where two people cook at the same time
- About 36 inches for a walkway with no appliances on either side
- Extra room behind counter seating, often 44 inches or more, so people can walk past someone sitting
Subtract those clearances from the room dimensions and what is left is your island. If the leftover is less than about 2 feet deep, a peninsula or a small table often works better. Remember that dishwasher and oven doors swing into the aisle, so test those positions too.
Tape the island outline on your current floor with painter's tape and live with it for a weekend. Picture the oven and dishwasher doors opening into the taped aisle. You will know within a day whether it is too big.
Mistake 2: No Landing Zone Next to the Appliances
A landing zone is the clear counter where you set something down. Without one next to the refrigerator, you hold the milk while you look for a spot. Without one next to a wall oven, you carry a hot pan across the kitchen.
The kitchen work triangle, the path between sink, cooktop, and refrigerator, is still a useful check, with each leg ideally between about 4 and 9 feet. But a triangle with perfect leg lengths still fails if every appliance is jammed against a tall pantry or a doorway. Use these landing areas as a starting point:
- Refrigerator: about 15 inches on the handle side, or on an island directly across
- Cooktop or range: about 12 inches on one side and 15 inches on the other
- Sink: about 18 to 24 inches on one side for dirty dishes, with prep space on the other
- Wall oven and microwave: about 15 inches beside or directly across
- Prep zone: the longest uninterrupted counter, ideally between the sink and cooktop
We also see the corner range: a cooktop pushed tight to a wall with no counter on one side. Pot handles hit the wall and there is nowhere to rest a spoon. Shifting it even 12 inches usually solves it.
Mistake 3: Blocked Sight Lines After Removing a Wall
Opening the kitchen to the living room is the change we are asked for most, and it transforms a house more than anything else. Removing a load-bearing wall takes engineered beams, permits, and inspections. But open concept kitchen planning does not end with the beam.
We regularly see new open kitchens where the first thing you notice from the front door or the sofa is a refrigerator side panel, a 7-foot pantry, or a counter full of small appliances. Before finalizing the plan, stand where guests enter and where you sit, and ask what you will be looking at. Common fixes include:
- Keep tall cabinets and the refrigerator on the back wall, out of the main sight line
- Face clean panels or seating toward the living space, not the dishwasher
- Ask whether the engineer can design a flush beam hidden in the ceiling instead of a dropped beam
- Choose a hood that vents well without blocking the view, and confirm the duct route early
- Add an appliance garage so the toaster and coffee maker stay off the counter
Also check what is inside the wall. Plumbing vents, ducts, and wiring often need rerouting. In the City of LA, LADBS plan check reviews the structural work, and cities like Burbank and Santa Monica have their own building departments with their own review. Surprises are cheaper to handle before cabinets are on order.
Mistake 4: Lighting Planned After the Cabinets
Lighting is often the last line on a remodel plan, and it shows. A grid of recessed lights laid out before the cabinets are final ends up behind you at the counter, so you work in your own shadow.
Plan lighting in layers, using the cabinet drawing as the base:
- Task: under-cabinet lights over every work counter, wired before the backsplash goes up
- Ambient: recessed lights positioned over the front edge of the counters, not the center of the aisle
- Accent: pendants over the island, sized and hung for the counter height and seating
- Controls: separate switches or dimmers for each layer
California's Title 24 energy rules set efficiency and control requirements for new lighting in a remodel, so fixtures and controls should be chosen with the permit in mind. Deciding late usually means patching ceilings or settling for plug-in strips under the cabinets.
Mistake 5: Outlets That Fail Code or Land in the Wrong Spot
Outlets are where layout and inspection meet. Kitchen countertop receptacles are tightly regulated, and requirements your electrician plans around include outlets spaced so no point along a wall counter is more than 24 inches from one, an outlet on any counter section 12 inches or wider, GFCI protection, and dedicated small-appliance circuits.
Island outlet rules have changed in recent code cycles, so confirm what applies to your permit at plan check rather than copying an older kitchen. Problems we get called in to fix include:
- A pantry or range splits the counter and the short section left over has no outlet
- Outlets mounted too high on a full-height backsplash or hidden behind an appliance
- No outlet where the stand mixer or coffee maker will actually live
- Dishwasher, disposal, and microwave sharing circuits that should be separate
Mark where each appliance will sit on the plan and you avoid most of these. LADBS or your city's building department inspects rough electrical before the walls close, which is the last easy moment to move a box.
How to Avoid Kitchen Layout Mistakes Before Cabinets Are Ordered
The cabinet order is the point of no return. Custom and semi-custom boxes often take weeks to build, and changes after that cost real money. Use this sequence:
- Measure the room and note every window, door swing, vent, and beam
- List how you cook: number of cooks, daily appliances, and seating needs
- Set clearances and landing zones first, then size the island
- Walk the sight lines from the entry and the living room
- Overlay lighting, outlets, and plumbing on the cabinet drawing
- Review the plan with the team who will build it, before the order
Ask for an elevation drawing of every wall, not just a floor plan. Outlet heights, switch locations, and under-cabinet lighting only show up clearly in elevations.
At Flip It Homes, design, permits, and construction are handled under one roof, so the person drawing the island talks with the person wiring it. That coordination is a big part of our 4.9-star record across 159 reviews, which you can read on our testimonials page.
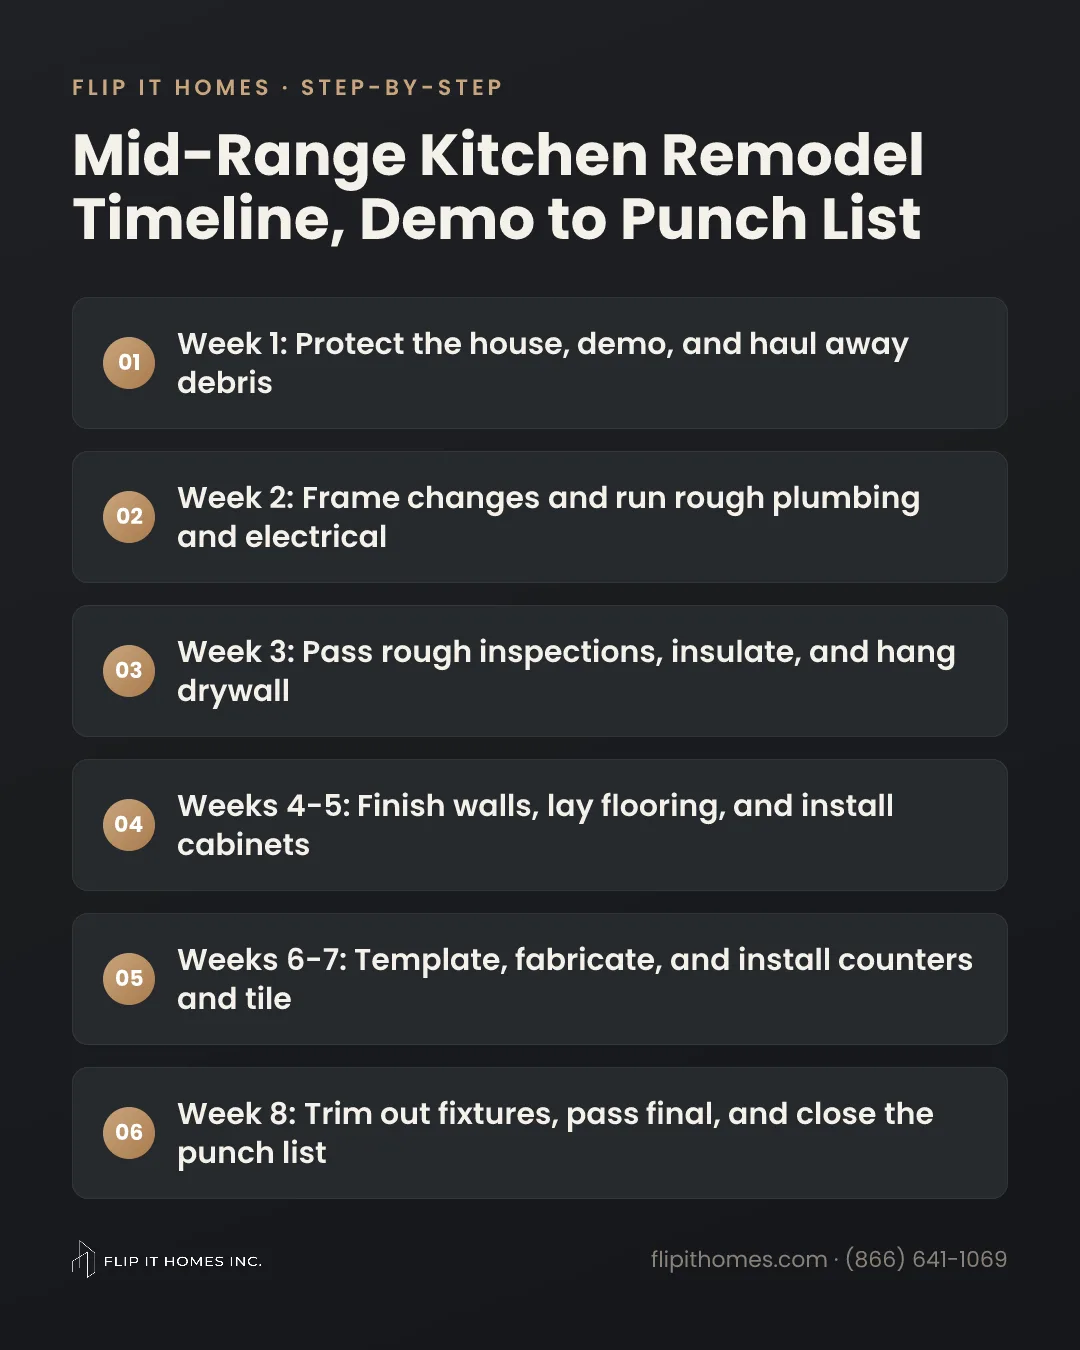
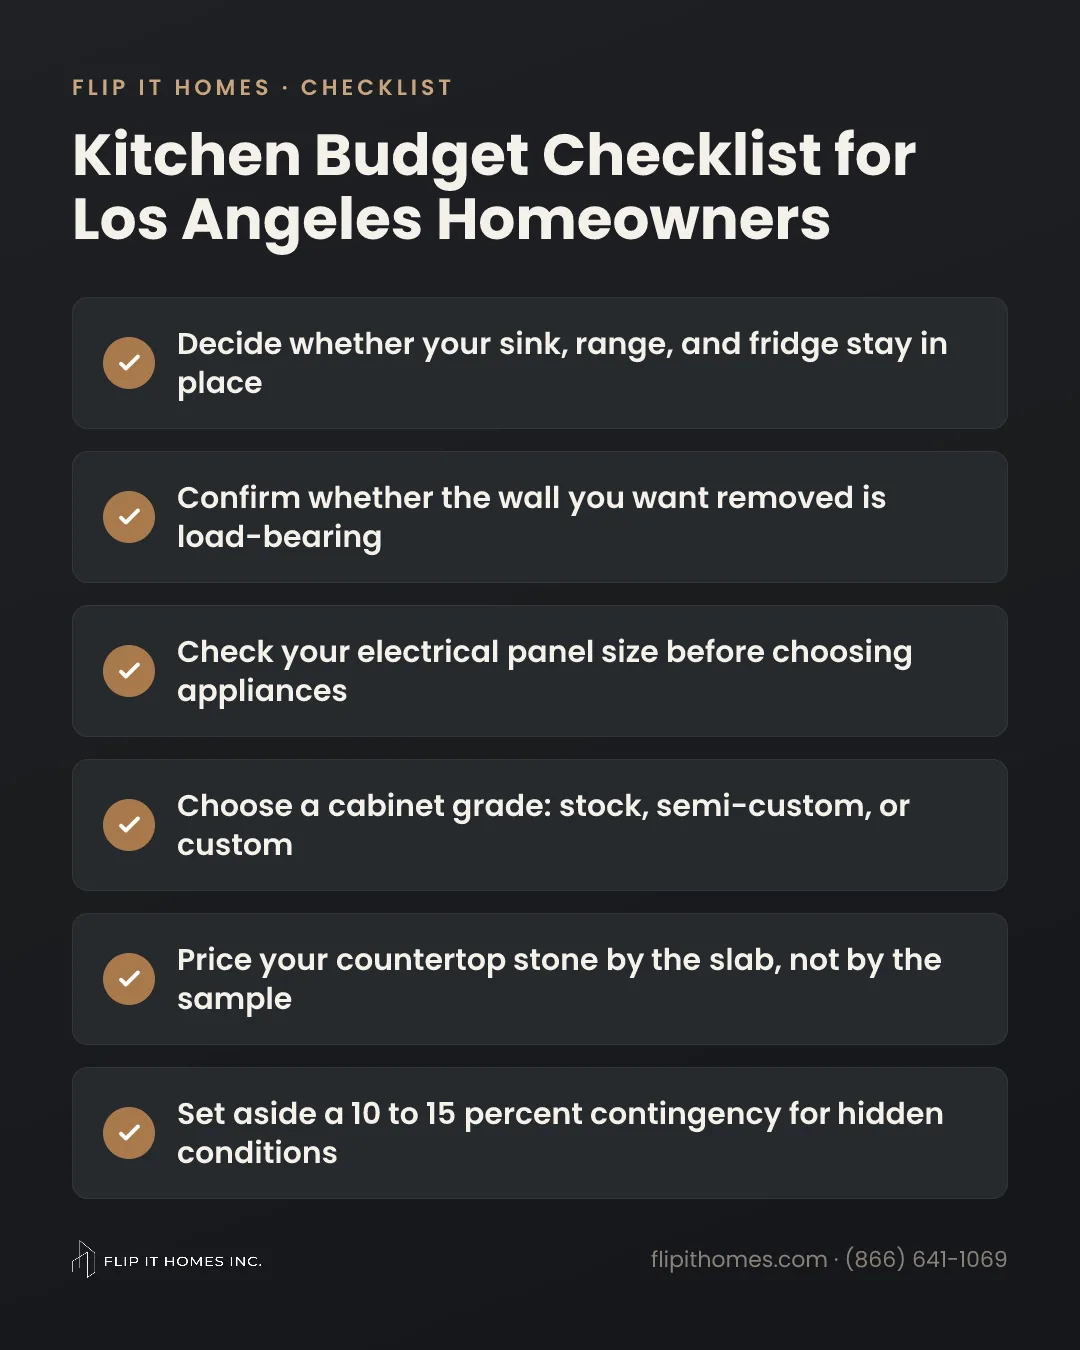
If you are budgeting, our Los Angeles kitchen remodel cost guide breaks down typical budget tiers, and our kitchen remodel timeline shows where design fits in the schedule. To have your layout reviewed on site, see our kitchen remodeling services or request a free consultation.
Get Your Kitchen Layout Reviewed Before You Build
Book a free on-site consultation and we will check clearances, sight lines, lighting, and electrical with you, then give you one itemized price. Call (866) 641-1069.
Request a Free Quote